Honey bees put a lot of work into making one of the sweetest treats around and there are many ways to enjoy it. At the Leatherstocking Beekeepers’ Association we love to hear how our members make use of the excess honey their bees have produced each year ahead of the winter season. We love it even more when our members bring some to share with the group at our monthly meetings.
Below you can find the recipe used by a member at the March, 2026, meeting of the club. If you have an instant pot or even access to a slow cooker you can enjoy this at home and it’s great to share with friends.
Homemade granola
Ingredients
• 4 cups old-fashioned rolled oats
• 1 ½ cup puffed brown rice and/or raw nuts and/or seeds
• 1 teaspoon fine-grain sea salt
• ½ teaspoon ground cinnamon
• 1/4 cup melted coconut oil
• 1/4 cup olive oil
• ½ cup maple syrup or honey
• 1 teaspoon vanilla extract
Instructions
1. Preheat oven to 350 degrees Fahrenheit and line a large, rimmed baking sheet with parchment paper.
2. In a large mixing bowl, combine the dry ingredients, stirring to blend.
3. Mix the oil (melt if necesssary) maple syrup and/or honey, salt, cinnamon and vanilla.
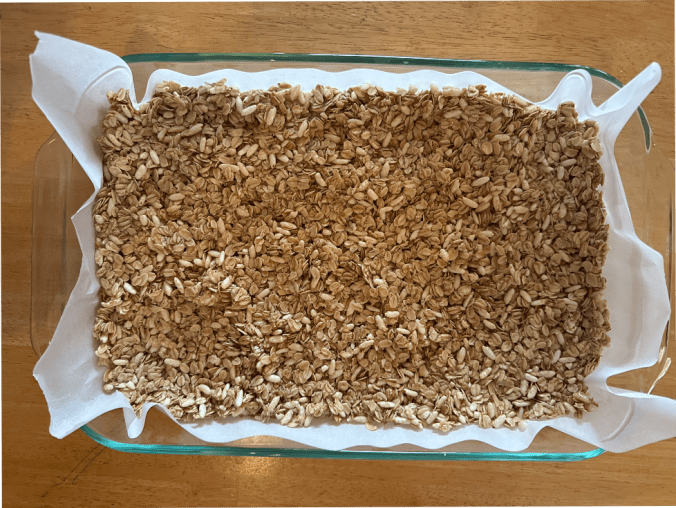
4. Pour wet mixture over dry ingredients and mix well, until everything is lightly coated. Pour the granola onto your prepared pan and use a large spoon to spread it in an even layer.
5. Bake until lightly golden, about 21 to 24 minutes, stirring halfway (for extra-clumpy granola, press the stirred granola down with your spatula to create a more even layer). The granola will further crisp up as it cools.
6. Let the granola cool completely, undisturbed (at least 45 minutes). Top with the dried fruit (and optional chocolate chips, if using). Break the granola into pieces with your hands if you want to retain big chunks, or stir it around with a spoon if you don’t want extra-clumpy granola.
7. Store the granola in an airtight container at room temperature for 1 to 2 weeks, or in a sealed freezer bag in the freezer for up to 3 months. The dried fruit can freeze solid, so let it warm to room temperature for 5 to 10 minutes before serving.
Instant Pot Yogurt
Ingredients
• 1 gallon milk
• 1/4 cup plain yogurt with active cultures
Instructions
1. Heat milk to 180-200 degrees. Add milk to the instant pot and place the lid on it (it doesn’t matter if the vent is sealed or not). Press the “yogurt” button and then press “adjust” until the screen says “BOIL”.
2. When the Instant Pot beeps, the milk is hot and ready. Remove the lid and check the temperature with a thermometer to make sure it has reached 180-200 degreed F.
3. Allow milk to cool to down to 110°F -115°F degrees F. This will take 1-2 hours if left alone, or speed up the process by placing the pot into a bowl of ice water for about 10-15 minutes. Check often with a thermometer. Spoon off any milk skin that has formed on top.
4. Remove a ladleful of the warm milk into a bowl and whisk the yogurt starter into it. Then pour the mixture into the pot and whisk to combine.
5. Set Yogurt Timer: Place the inner pot back in the instant pot and secure the lid (again, it doesn’t matter if the vent is sealed or not). Press the “Yogurt” button and adjust until it reads 8:00 to 12:00 hours (less time for looser, milder yogurt and more time for thicker, tangier yogurt).
6. When the time is up, check the yogurt. You will know it’s ready when it has thickened and jiggles only slightly, like jello. (After refrigerating for a few hours it will set up even more.)
7. Refrigerate. Remove the yogurt to a container or cover the inner instant pot bowl and refrigerate for at least 4 hours or overnight, before serving. This allows the yogurt to thicken and set up more. Stir well before serving.
8. (Optional: for greek yogurt, strain off some of the whey)
9. Store in containers in the fridge and enjoy within 10 days.
The Leatherstocking Beekeepers’ Association meets each month on the fourth Thursday at 6:30 p.m. with an educational presentation at 7 p.m., at the Fenimore Farm and Country Village in Cooperstown.
We enjoy snacks, learn about the bees, and share stories from our apiaries so we can all take good care of our favorite ladies.
We’ll Bee seeing you there.
Discover more from Leatherstocking Beekeepers Association
Subscribe to get the latest posts sent to your email.
